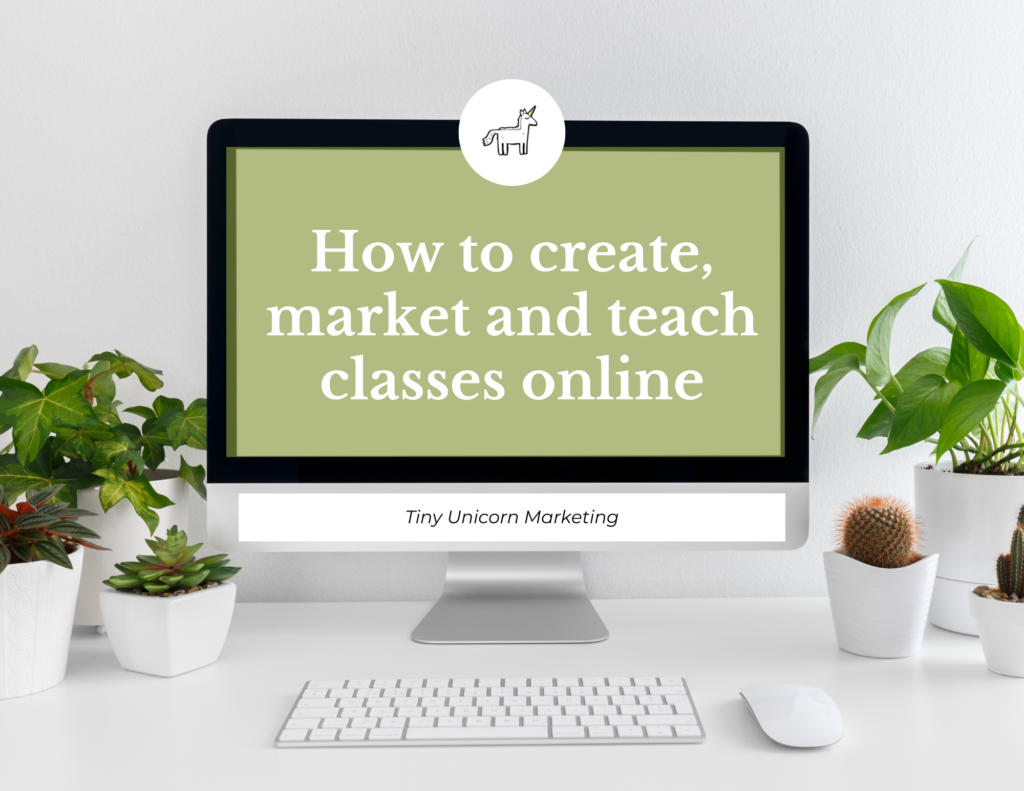
Ten years ago, I taught my first class online. I was nervous, excited and terrified all at the same time. What if I forgot what to say? What if I messed up the tech part? And, perhaps my biggest fear, what if nobody showed up?
Guess what? None of those fears were realized. I practiced a lot beforehand and even wrote a script (that I was eventually able to ditch) to get me through. Thank goodness for preparation.
Now, I taught more classes than I can count. I love teaching this way because it’s fun, flexible and allows me to create a business that integrates well into my simple life.
I’ve had several people reach out to me wondering how they can start teaching online, whether it’s to grow their own essential oil business or teach women how to slice their grocery budgets. I’m happy to share some tips I’ve learned in hopes that you can avoid much of the frustration and time wasted I experienced.
Here’s what you need to start teaching online:
Details
You’ve got to figure out the details so you can let everyone know. Here’s the mental checklist I work through whenever I schedule a class:
- What will the class be about? (I highly recommend outlining the class and practicing ahead of time)
- What is the desired outcome of the class?
- Will it be free or not?
- What are the top points that will appeal to the audience?
- What time of day is best for the people this class is intended for?
- Will it be taught via phone or webinar?
- Will it be recorded? If so, will it be publicized or a surprise gift?
Once you have all that figured out, you can create a place for people to register.
Registration
Why have people register as opposed to just giving out the info to anyone? Follow up. I’ll talk about follow up in a minute, but it’s a very good idea to get at least a first name and email address for anyone who attends your class.
In the past, I’ve created a landing page on my website and created a separate email list and put a signup form for said list on said page. This is a totally valid way to do it, but recently I’ve found two ways that are way easier:
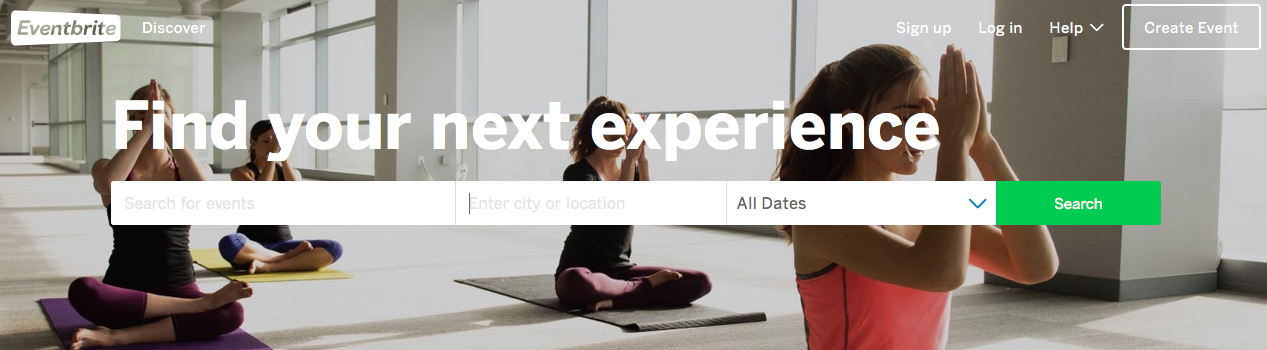
Eventbrite: This is a free service that lets people register for the class/event you create and share. You can make classes free or paid (it’s a very simple process) and they collect all the information for you. You can personalize the welcome emails and even send out reminders and follow-up emails right from Eventbrite. Easy peasy.
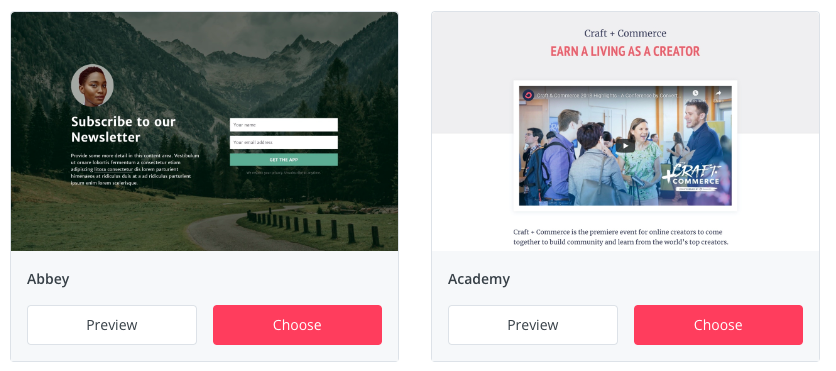
Landing pages: I mentioned that I created a landing page on my site for classes in the past. I sometimes do that if I want a more in-depth landing page for a product or service. For a free class, though, I’ll just create one of the easy to customize landing pages provided through my ConvertKit account. (It’s the email marketing service I use for this business.) They are very easy to use and integrate.
What wording do you use on the landing page? I pull it from the outline I mentioned above. Also, this post will help.
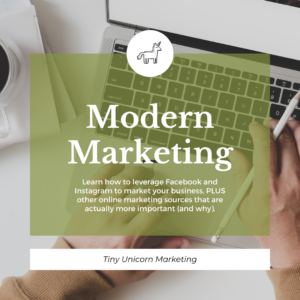
Marketing
How are you going to share your awesome class with the world now that you’ve gotten the details and registration page all set up? Marketing.
There are so many ways to market your classes, but for now I’ll just focus on my top 3 methods for spreading the word about my classes:
Facebook: I create a Facebook event with all the details and an image and then invite people to attend. I also post a few updates on my timeline to make sure people know about it (but keep it non-spammy, please). Make sure to remind people a few times and send them to your registration page only.
Email: When I have a class coming up, I send out an email letting people know. It’s quick, easy and the most effective way for me to spread the word.
Ask others to spread the word: Once I’ve told people about the class, I sometimes reach out to a few good friends and ask if they’ll also help me spread the word. I don’t do this every time – I make sure I’m teaching something that I think would fit their friends/readers.
Teaching
Webinars are a super popular way to teach online. They have the benefit of offering attendees audio and a visual (in the form of a slide show presentation). But. They have a big drawback as well. You have to actually sit down and watch them.
Teleseminars are another great way to teach online. Attendees call in to a conference line and listen while you teach. You can mute everyone so you don’t have to worry about background noise and it’s easy to record. As a mom with little kids, I appreciate having a recording I can listen to while I do the dishes or fold the laundry. The downside? No visual.
Either method has its pros and cons and I recommend trying them both to decide which is your favorite (I have a soft spot for teleseminars).
Here’s what I use for my classes:
Free conference calling (teleseminars): This service is awesome. It’s totally free and allows you to record your calls and keep them forever (or at the very least, three years). When you sign up you get a free phone number and access code. When people sign up for your class, give them that info so they can call in when it’s time.
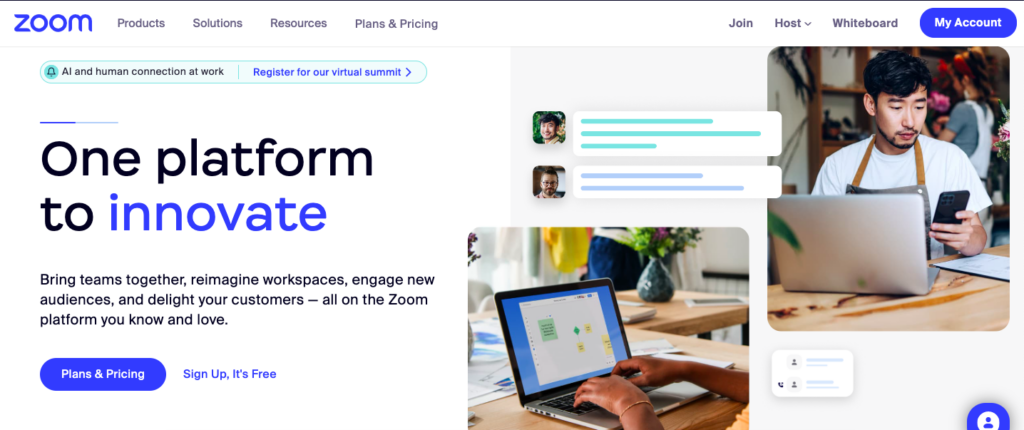
Zoom: Thanks to the Rona, everyone is familiar with Zoom now, but it’s been around since well before then. I like Zoom for teaching online because it just makes it so easy. You can put do video, screenshare and record either to your computer or the cloud. If you’re teaching a shorter class, the free version is great. If it’s going to be longer than 40 minutes, though, opt for a paid version.
Follow up
Have you heard the saying, “the fortune is in the follow up?” Well, it’s true. Only, I don’t really like to look at following up as a way to make more money. I see it as a way to serve the people who attended my class even better.
When you follow-up, you can ask people what they liked best or what else they might have liked to learn (to help you prepare future classes). This is a great time to send out the class recording or remind people of a special offer you made. You can also get to know them more.
For example, if someone attends an essential oil class I teach online, they’ll get a few followup emails from me. I want to make sure they know how to use oils and that they can reach out to me if they have questions. Often, people will join my tribe months after their initial class with me. That’s ok. I want it to be at the right time for them and so I gently follow up to make sure they know I’m still here.
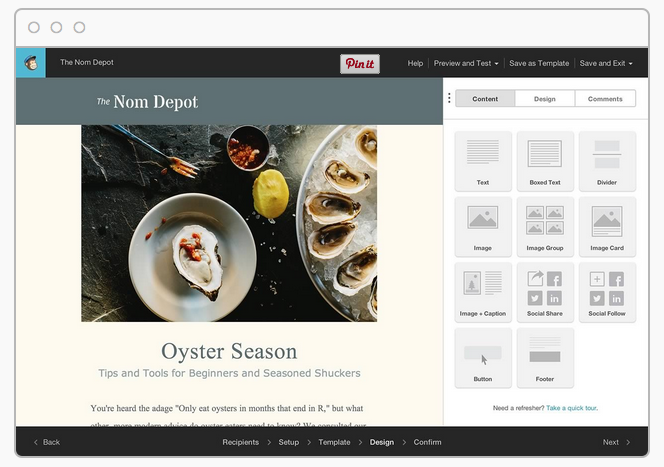
So how do you follow up? I use a newsletter service called Mailchimp. This is how I communicate with anyone who signs up for my newsletter or classes. I love it because it’s intuitive, fun and free (or super low-priced if you choose the option of sending out autoresponders).
If you’re using Eventbrite, you can create a contact list and import the info from anyone who registered in your class. Then, in Mailchimp, you can easily sync the accounts with the click of a button so you can send out more personalized followup emails to attendees.
This saves a ton of time (seriously, when I figured this out, I almost cried I was so happy).
Whew! That was a lot of information. If you’re feeling a bit overwhelmed right now, I understand. But just remember that you can take this at your own pace. And don’t try to do it all at once. Choose one way to teach a class and get comfortable with that. It’s much easier to try different ways once you’ve gotten several classes under your belt.